
Share your beats with a micro:bit.
Part 1: Connecting the speakers
Note: NEVER wear your earphones when they’re connected to your micro:bit. You can’t control the volume and you may get hearing damage. But don’t worry, they should be loud enough to hear without having to wear them.
1. Find a pair of earphones or a speaker with its own power source (a speaker that’s rechargeable or runs on batteries).
2. Find 2 crocodile clip cables.
3. Connect one end of a cable to the gold pin on the bottom of the micro:bit labelled ‘0’, and the other cable to the pin labelled ‘GND’.

4. Connect the other end of the ‘GND’ cable to the bottom of the audio jack (the connector for the speaker) and the ‘0’ pin cable to the very top of the jack.
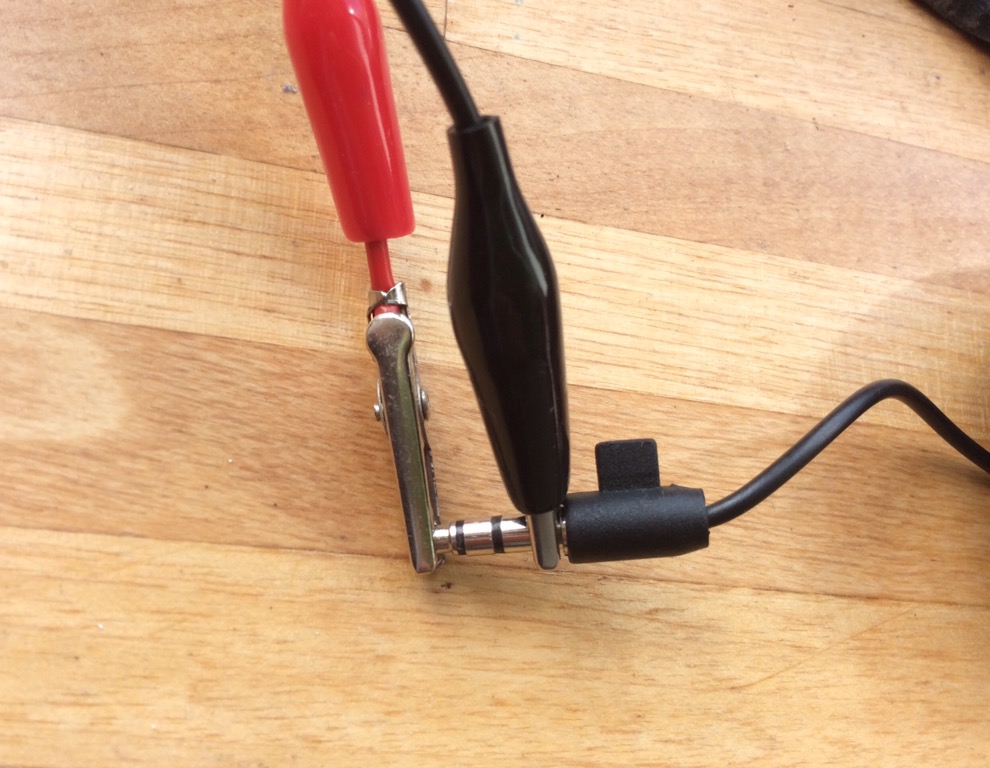
5. Now you’ve connected a speaker to your micro:bit!
Part 2: Programming
1. Open the block editor at www.microbit.org like you were taught in getting started with your micro:bit pt 1.
2. Drop an On button A pressed event block from the input tab onto the screen.
3. Place a Play tone (Hz) C for (ms) 1 beat (ms) inside the On button A pressed block. This will tell the speaker to play the note C for 1 beat if button A is pressed. Your code should look like this:

4. Test your code by uploading it to your micro:bit. If there is no sound, make sure that your wiring is correct. If that doesn’t work, try it with a different speaker (like a pair of earphones).
5. Now it’s time to create a tune. Copy the following code, making sure you pay attention to the notes and the beats:

6. Download your code to your micro:bit. It should have played the start of happy birthday to you.
Challenge
Can you program another tune? Remember, you’ll have to be patient.
